28 July 2024
|
Print and Play games are a phenomenal way to get to play even more games, whilst putting a little heart into their creation. Here you'll find the basics of what you might need to get started on a basic Print and Play game.
Written by Christopher Jarvis
I love making print and play games. There have been so many reasons over the years I’ve found myself crafting a game at home. Sometimes I didn’t have the spare cash for my burgeoning desire for new games, so Print and Play (PnP) gave me a cheap way of exploring lots of new titles which only cost spare stationery in the house. It also opens up a world of independent designers, who often have intriguing and fresh ideas to bring into gaming. And let’s not forget that sometimes it’s really relaxing and rewarding to just get the glue and scissors out and spend a fun few afternoons making something.
There are all kinds of games which can be made. For a newcomer, there are some highly accessible projects to begin with. For example, the classic Utopia Engine is a game on just two sheets of paper, in which a world-saving device must be powered up by rolling dice and carefully writing numbers in certain boxes. My copy is laminated and I play it regularly with dry-erase markers.
Where can you find Print and Play Games?
It perhaps goes without saying that BoardGameGeek is your best, first stop for print and play games, although many designers also sell designs cheaply through Itch.io and storefronts like PnP Paradise, PnP Arcade or DriveThruRPG. However it’s BGG which plays host to multiple annual game design contests, each of which spawn multiple new PnP games every year. Categories include the 9-card challenge, the 18-card challenge, and even games which fit in an empty mint tin (the origin of the successful Mint Works series).
What equipment and resources do you need?
Generally, I use the kinds of stationery and resources you probably have around the house, but there are a few bits of equipment I really find enhance my builds – though ultimately, you need only a printer and some scissors for most.
A4 Laminator
I have an A4 Laminator which I find invaluable. It creates a level of protection to card and paper which ensures re-usability for my games; it allows me to use dry-erase markers for roll and writes; and it adds a level of thickness, quality and component-feel which I just wouldn’t get from purely printing on home card or paper stock. While it’s not necessary, it’s a great option for your favourites.
Cutting Board
I also have a cutting board and I tend to use a modelling scalpel or craft knife over scissors, because it allows for control, mid-paper cuts and measured straight lines.
Glue
I find PVA best for working with paper/card, but everyone has their favourite. PVA is great when working with paper as the glue absorbs into the fibres and provides a really strong connection.
Extras
I don’t have one of these, but crafters who regularly make their own playing cards have a “corner cutter” which specialises in giving those rounded corners that feel nice on a deck.
Make your Print and Play
Making your own Boards
You will have noticed that the boards of your games are slightly tougher and heavier even than the printed punched cardboard of most game pieces. This can be achieved with an incredibly dense card material usually between 1000 micron/1mm and 1500 micron/1.5mm. You can buy “Grayboard” from art and stationary supply shops and if you’re fussy about a really good quality board for your build, this is almost certainly the best medium to use.
You can also use many card sources from around the house. I will warn that normal cereal boxes are too thin to be of much use. However, I have spotted that boxes for porridge are noticeably thicker because the oats are stored within the card itself, rather than a plastic inner bag. Delivery boxes also make excellent boards, because they are toughened for transit.
There is also the possibility of reusing unwanted games. You could, for example, use a less-loved family game from your collection or pick up one of the many cheap options in a charity shop. You can use the existing board (and box) from that game and simply affix the printed game art to the surface. The advantage of this approach is that your board will likely be of good quality, have nice backing and possibly even fabric “hinges” for folding.
Making your own Playing Cards
I personally find playing cards the trickiest aspect of PnP to get feeling right. A good quality deck of cards should be completely uniform and feel satisfying in-the-hand for shuffling.
There are a few approaches to making cards. Some crafters use an existing quality deck of cards: whitewash over the existing art, and then either print onto the surface directly, or print onto thin paper and stick over each card.
I print to 200gsm card stock which is readily available from most stationers and will go through my printer without trouble. I typically print the fronts and backs double sided. I will usually put my prints into card sleeves as this facilitates good shuffling, and feels good.
Making Standees and Cardboard Tokens
What you want for tokens and standees is good rigid card, of the type you typically find in punchboard in the games you buy. For this reason, I keep hold of any sections of punch which have large, unused areas. Next time you punch out game pieces, take a look at the frame. Are there large, unused parts of the card? Cut those out and keep them in a crafting box. When you come to make your next print and play, you will now have a source of card you can affix printed paper to. I quite often peel off the top glossy layer of paper to improve cohesion. However, you can also use whatever thick card you find to make a game board and this will work well for tokens.
Step by Step Print and Play Assembly
This has been put together with Butterfly Effect, by Birgit Röscheisen, which was part of the BGG 2023 Solitaire Print and Play Contest. Let's begin!
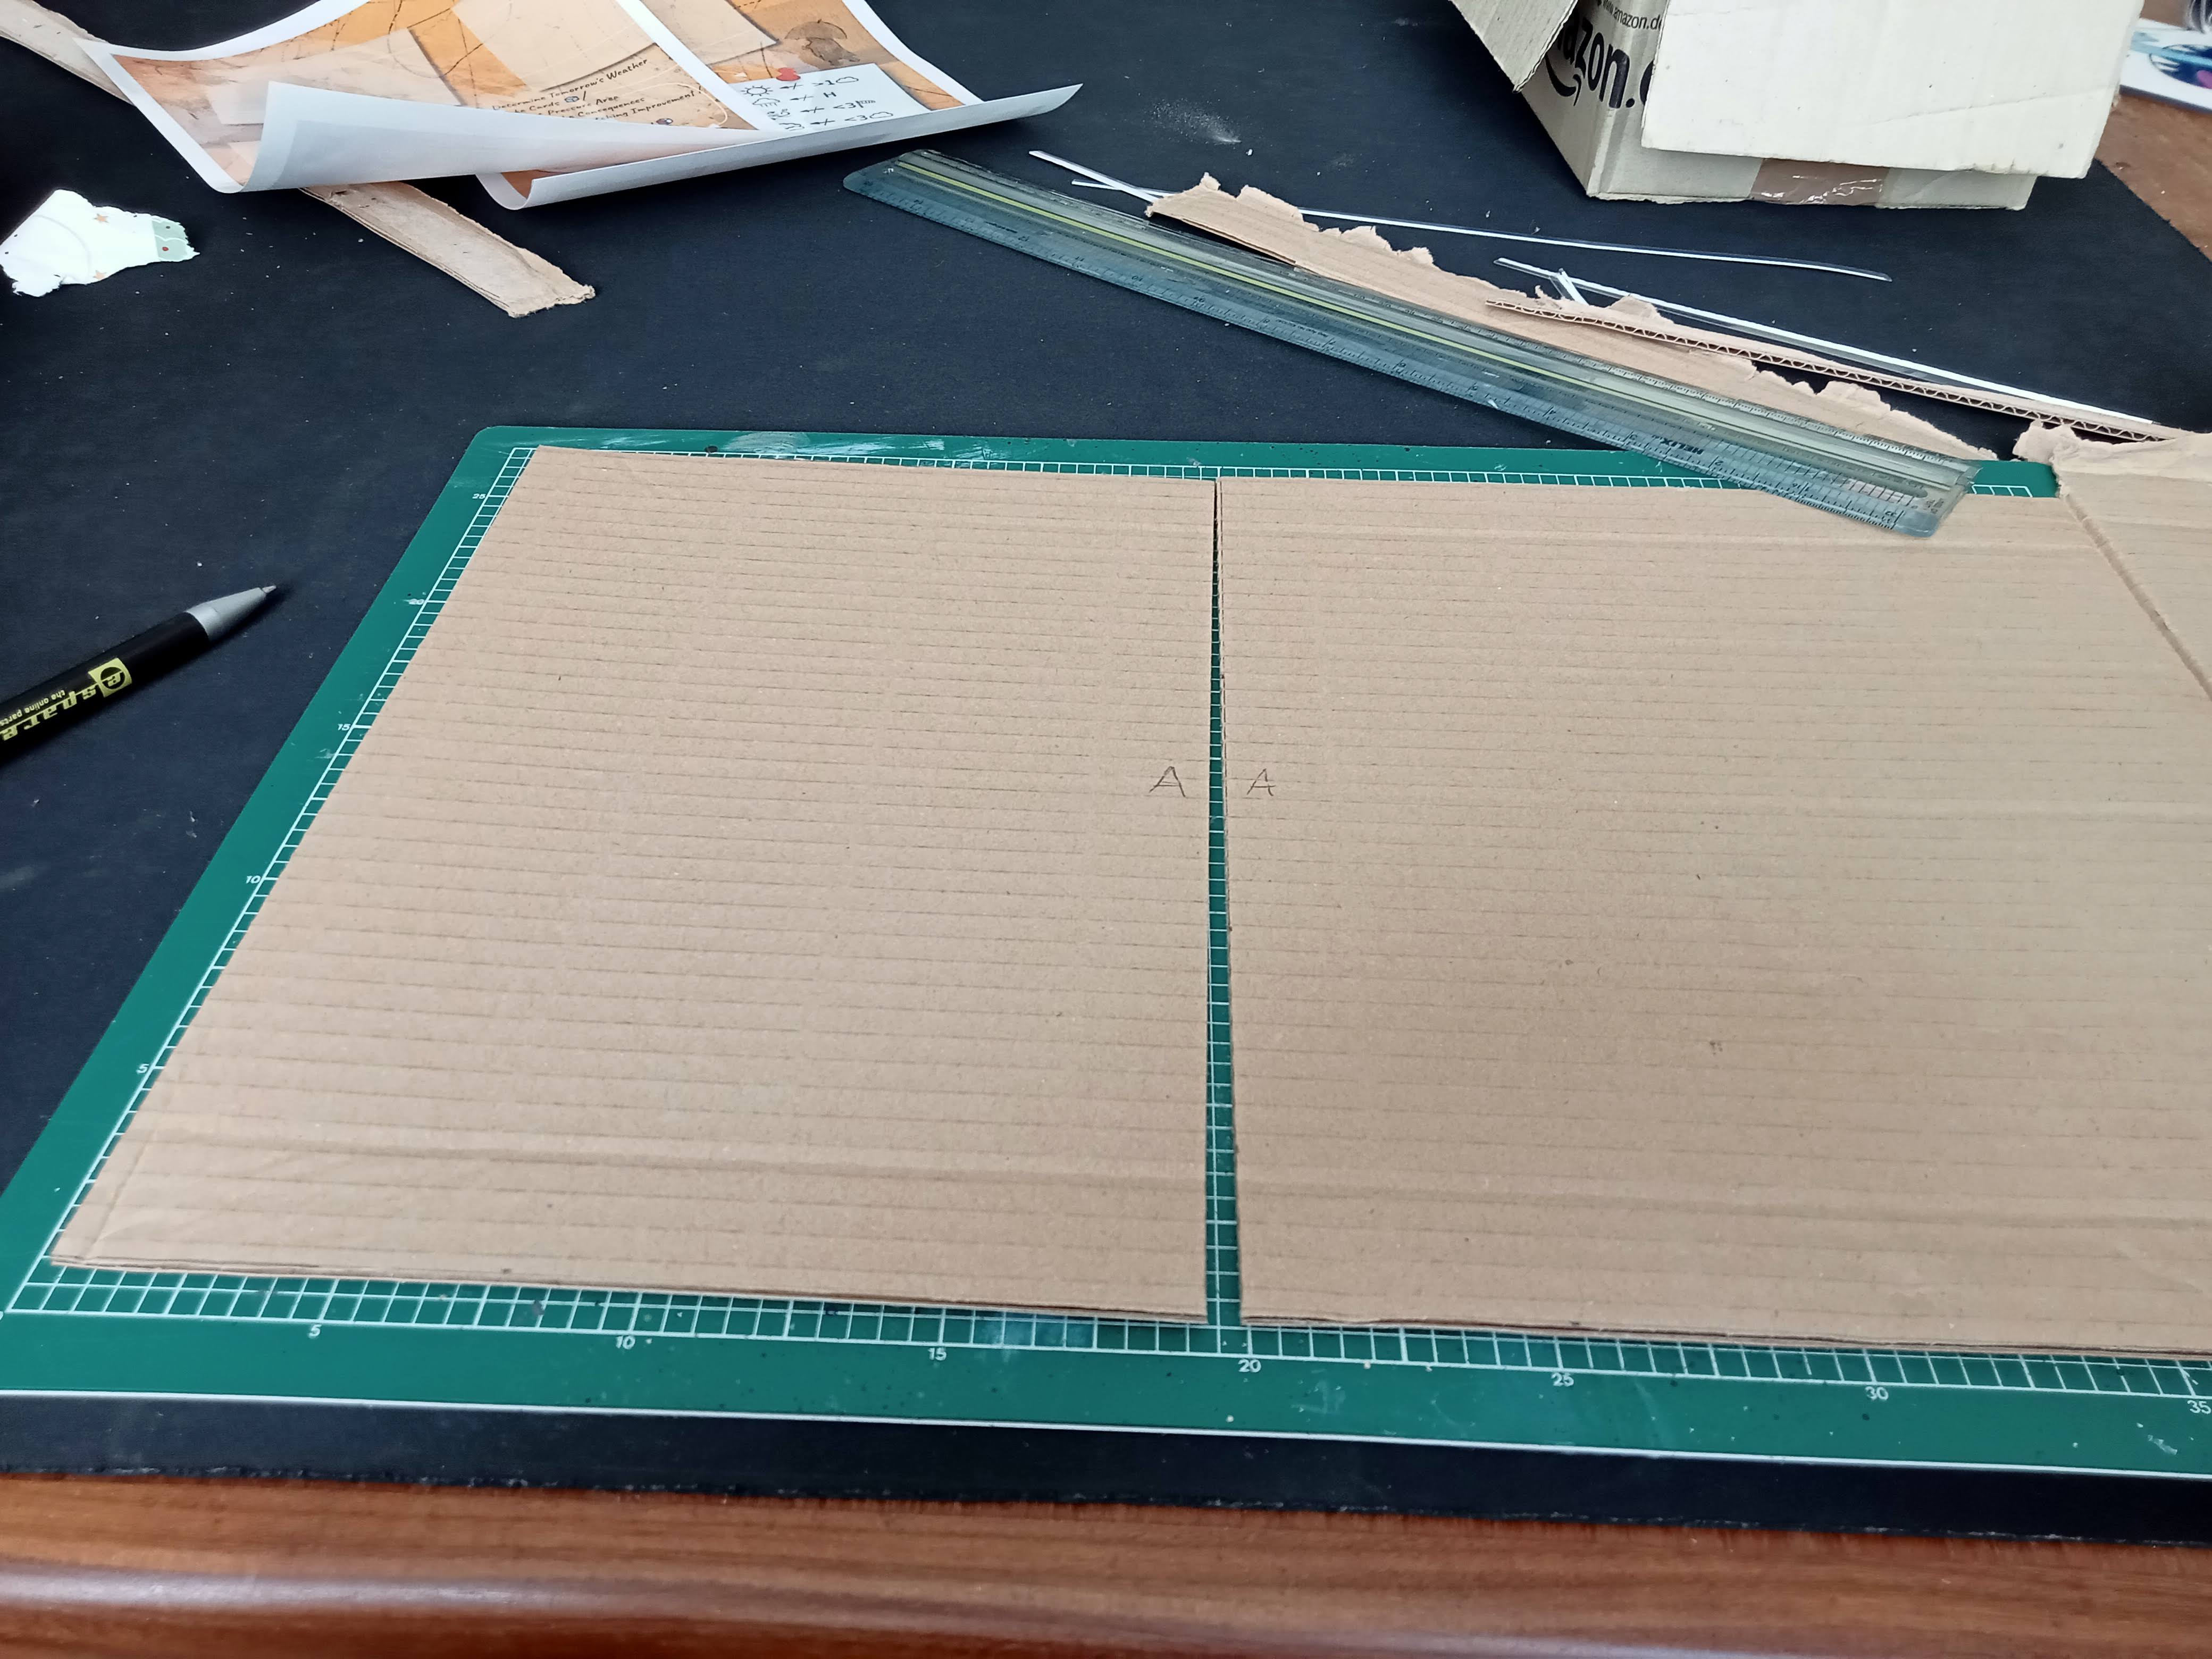
I found a cardboard box with smooth, undamaged sides the right size to accommodate the A4 board pieces. Corrugated cardboard isn’t the best and can be ugly, but I’d challenged myself to use only materials I had in the house. I cut out two pieces, one for each half of the board with a view to making a folding board.
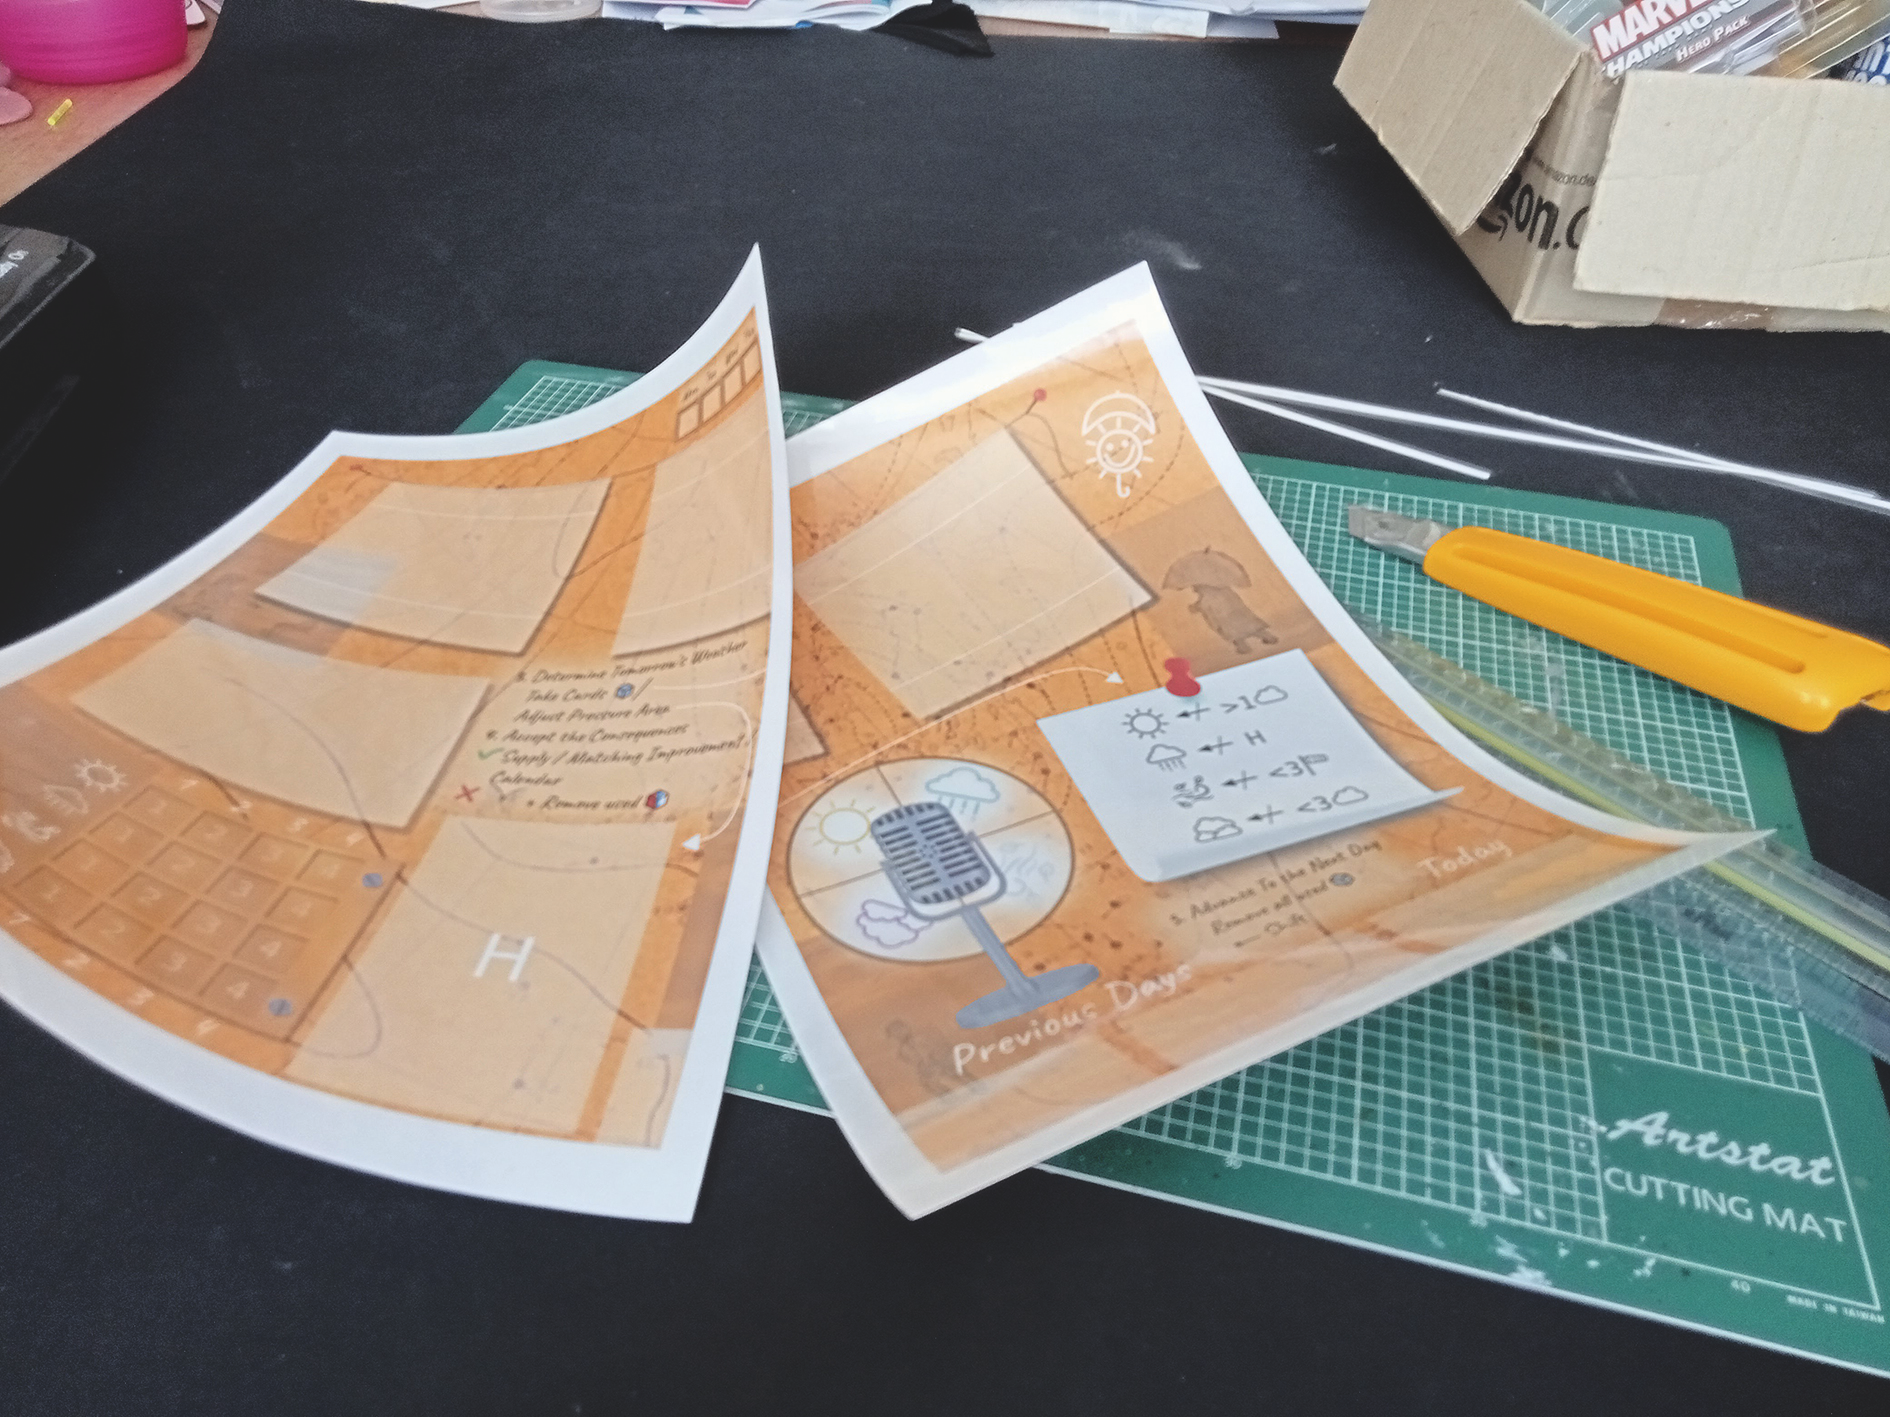
The board design was printed onto two separate A4 pieces of paper. I laminated them back-to-back, so that I could cut the edge of the laminate – separating them so that they would only be laminated on one side. This means each half of the board design has a paper side more suitable for gluing to the cardboard backing.
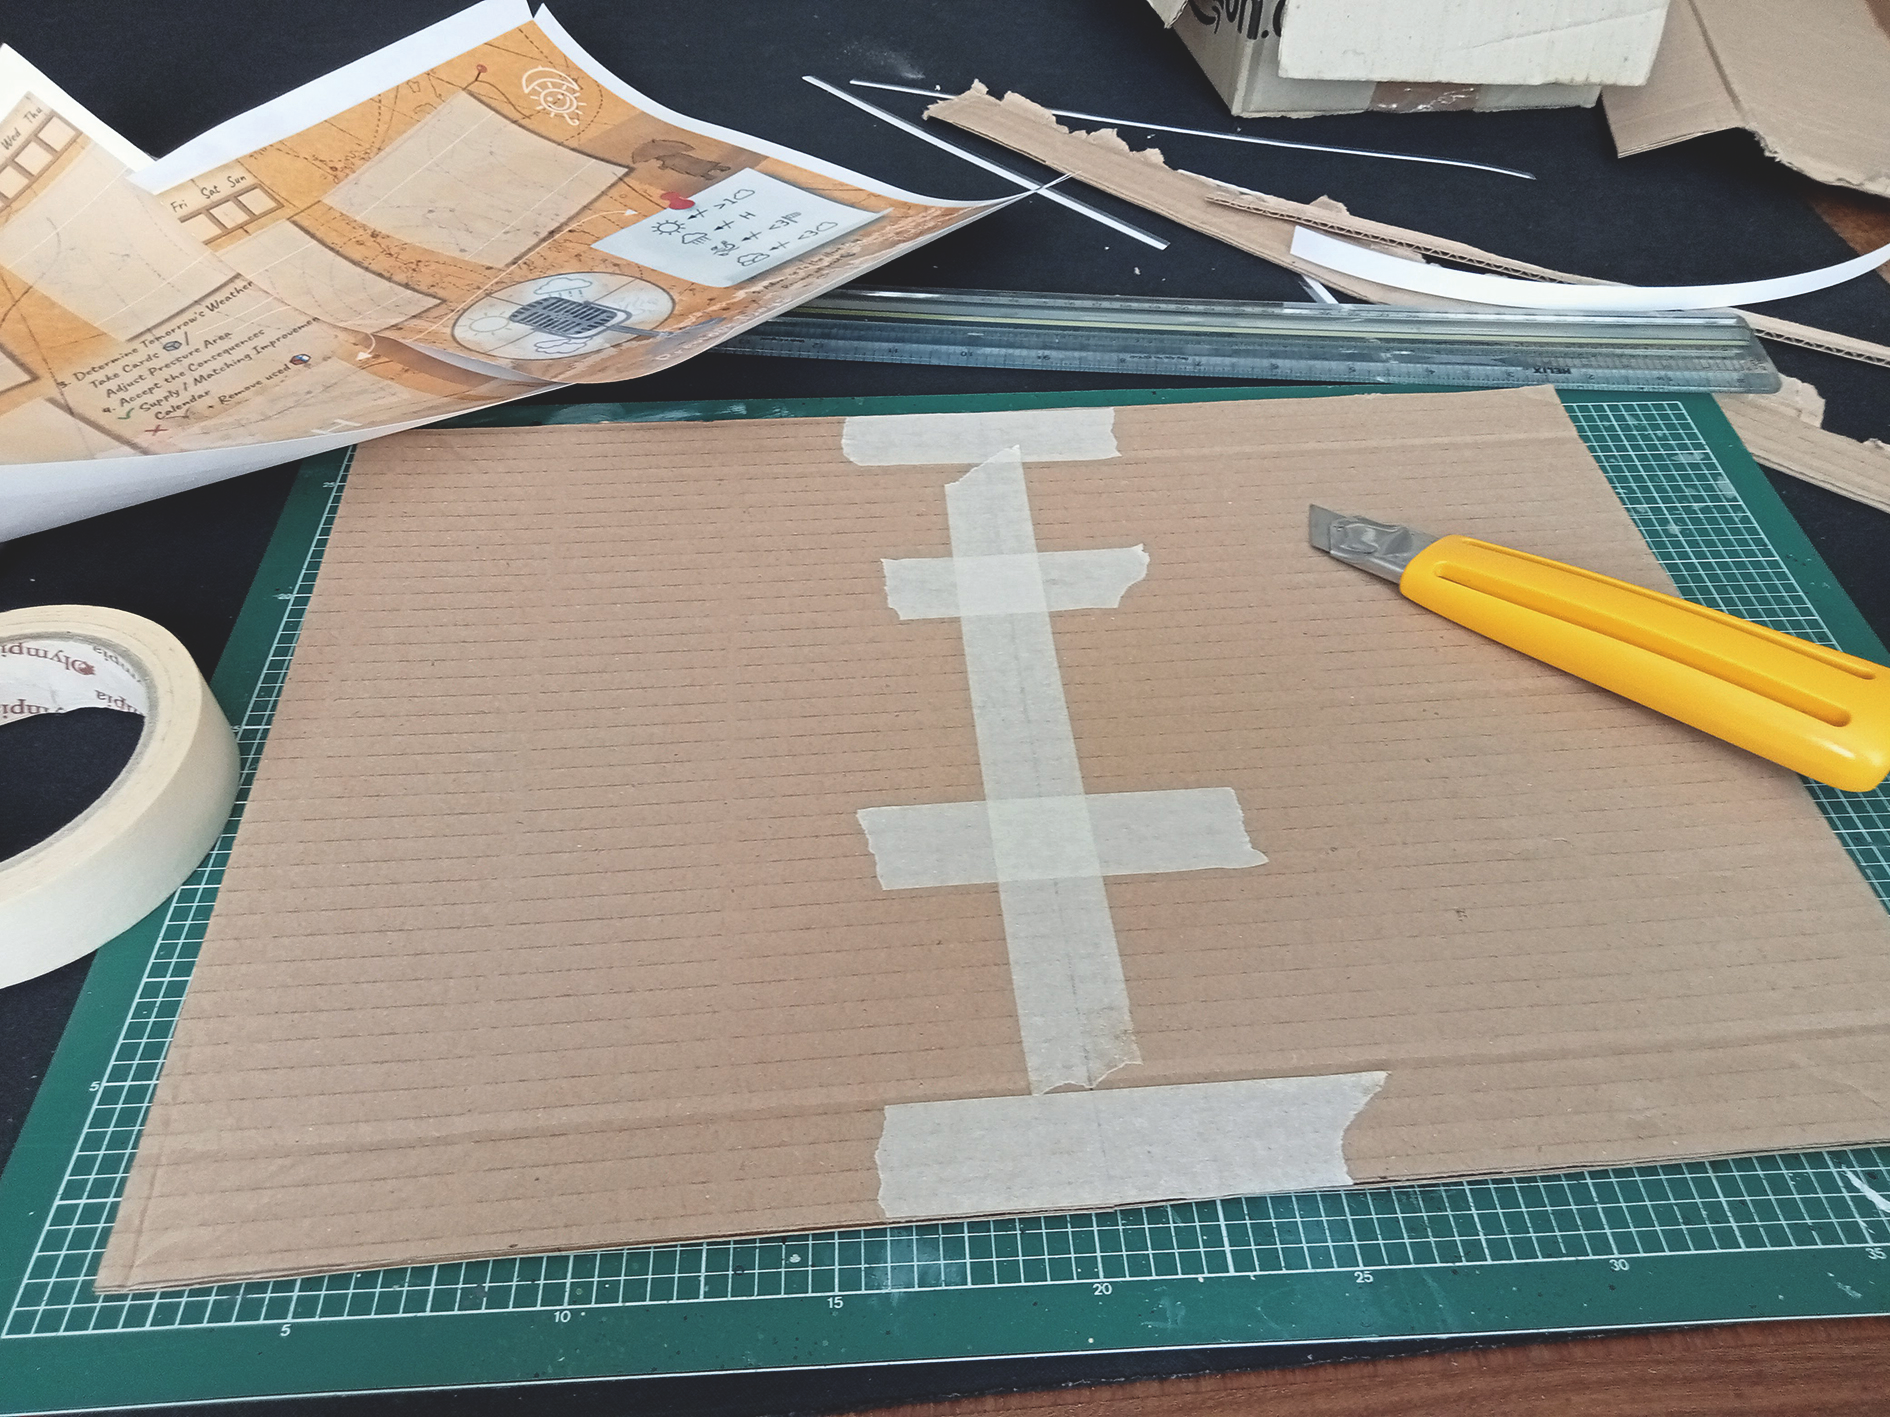
Masking tape was perfect to “hinge” the board pieces. Masking tape isn’t the strongest, however the paper backing makes it more suitable for gluing paper onto it. I glued the board art onto the card back, using generous amounts of PVA.
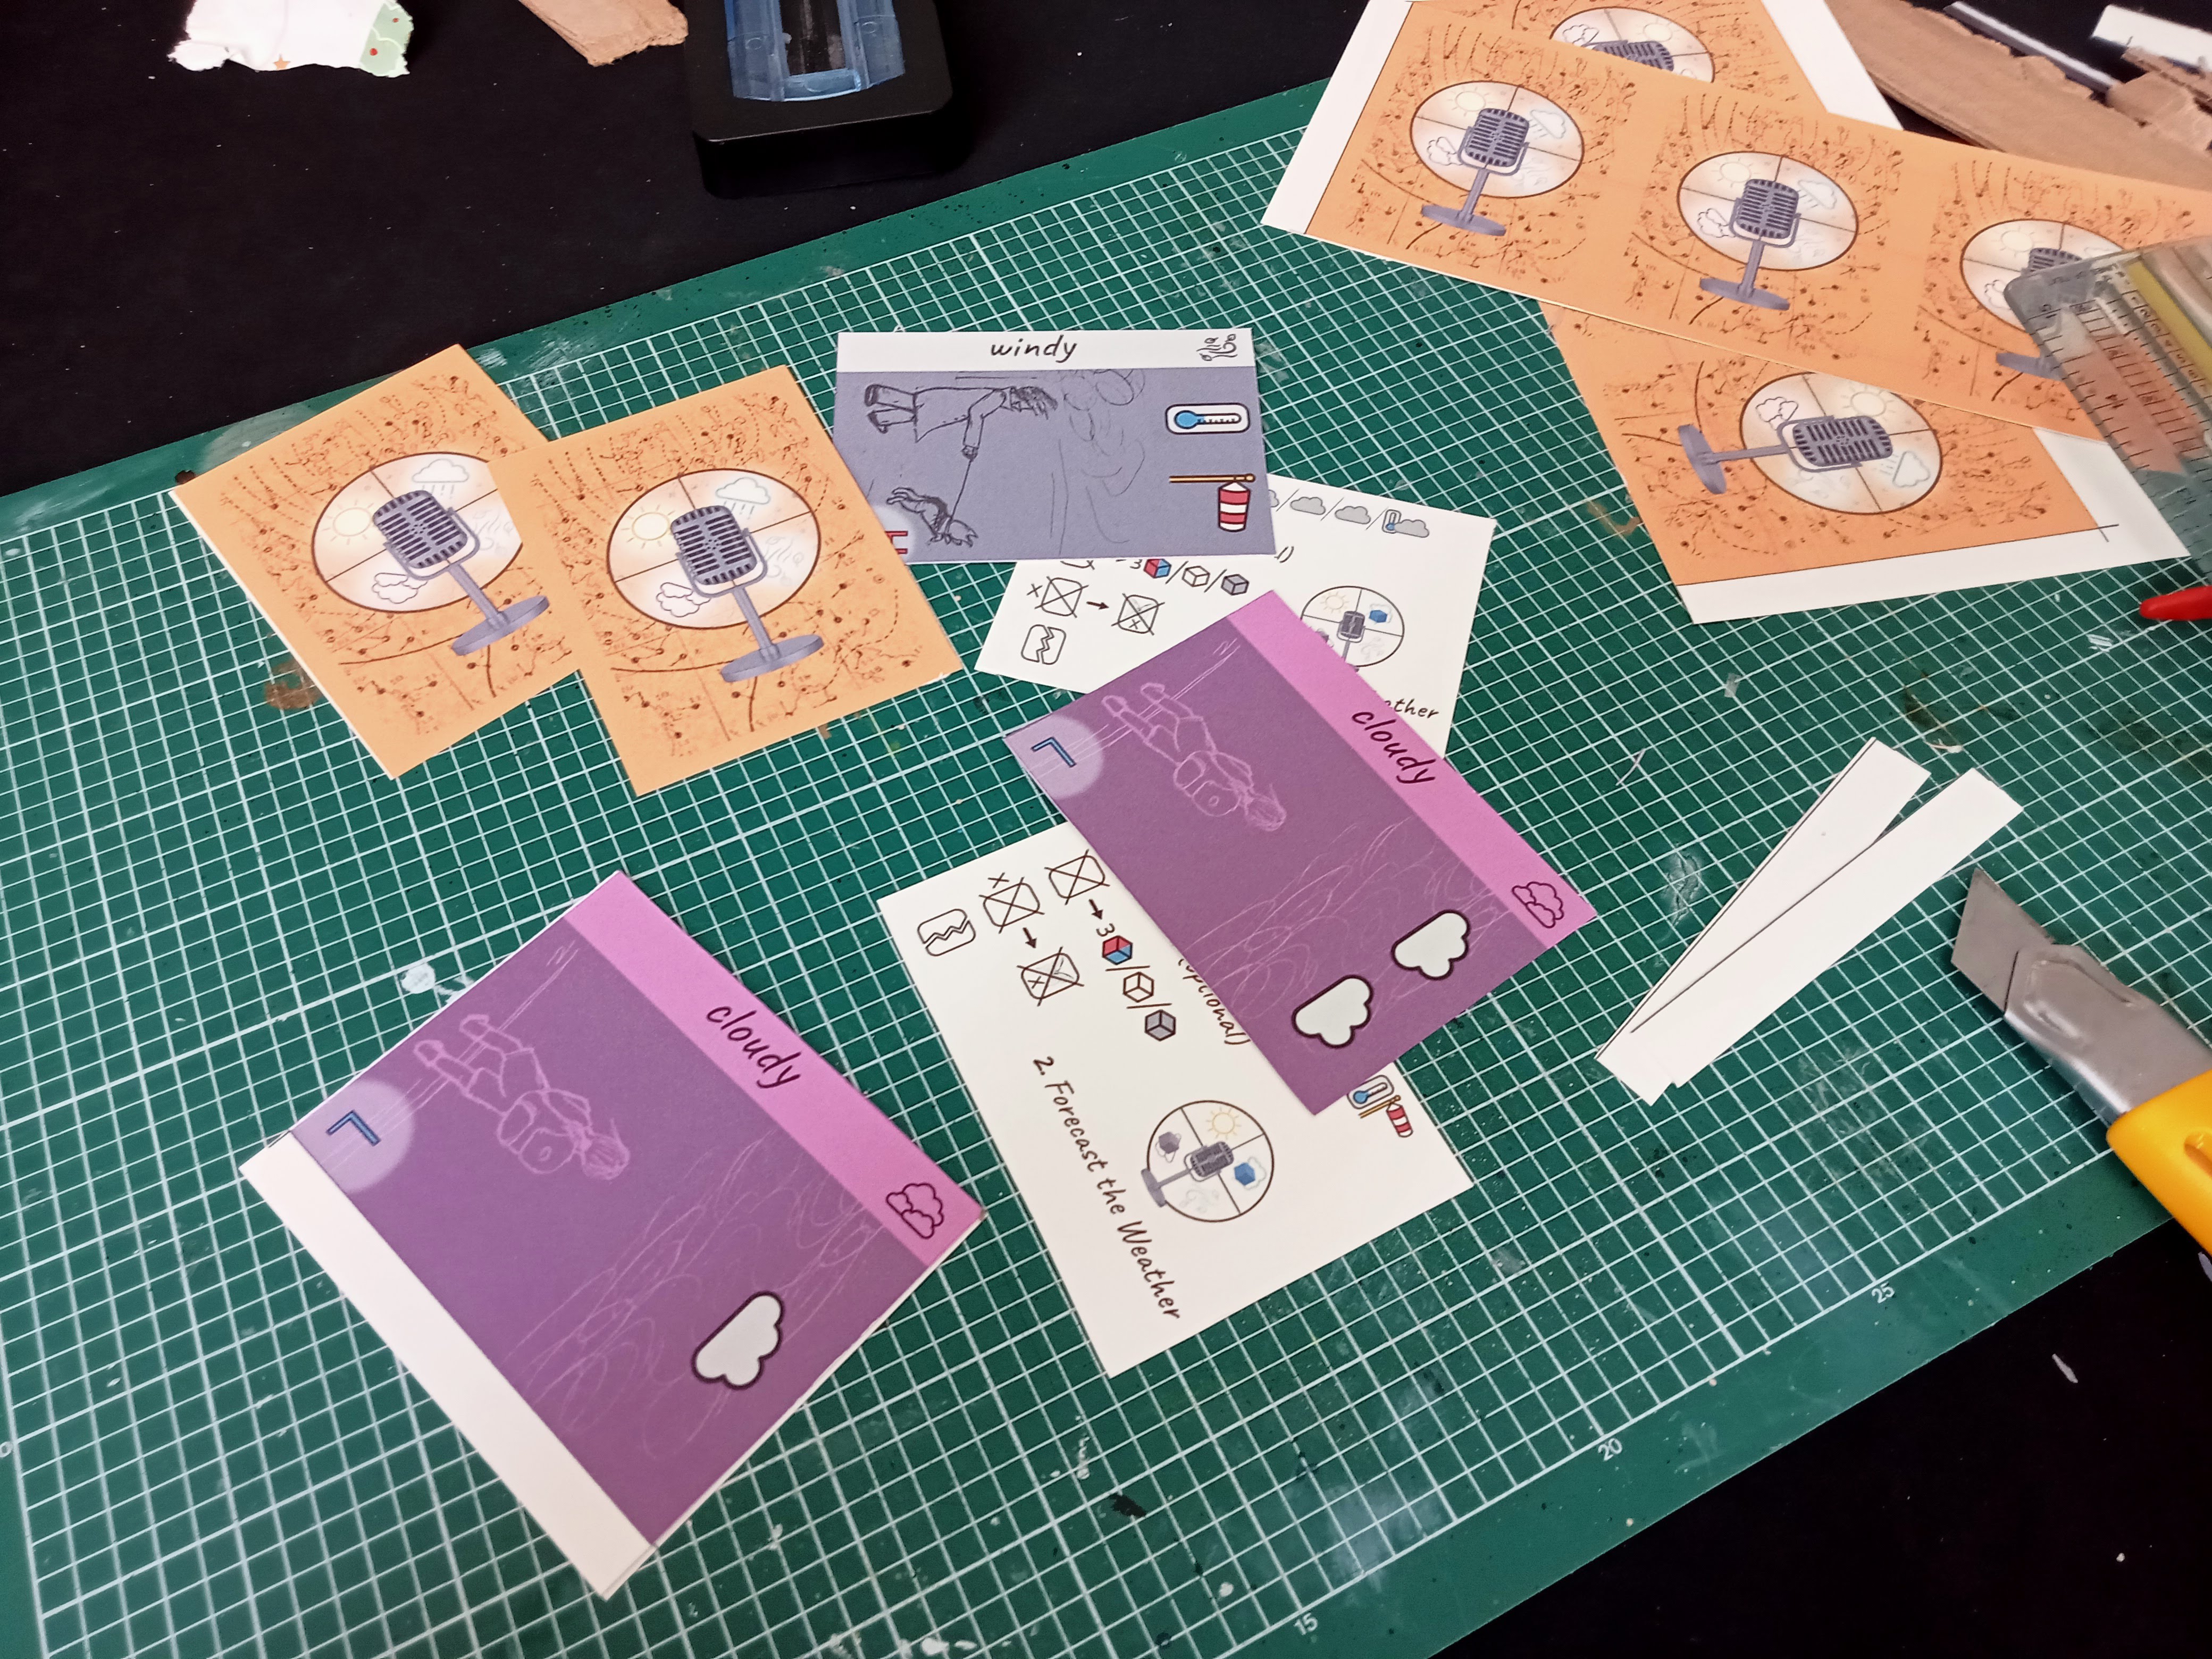
While the glue was drying, I printed the card sheets onto card stock (200gsm), double-sided. I put these into some left-over card sleeves. I found 24 good quality matching sleeves for the main deck, but used some other spares for the “equipment” cards as it doesn’t matter if these don’t match the main deck.
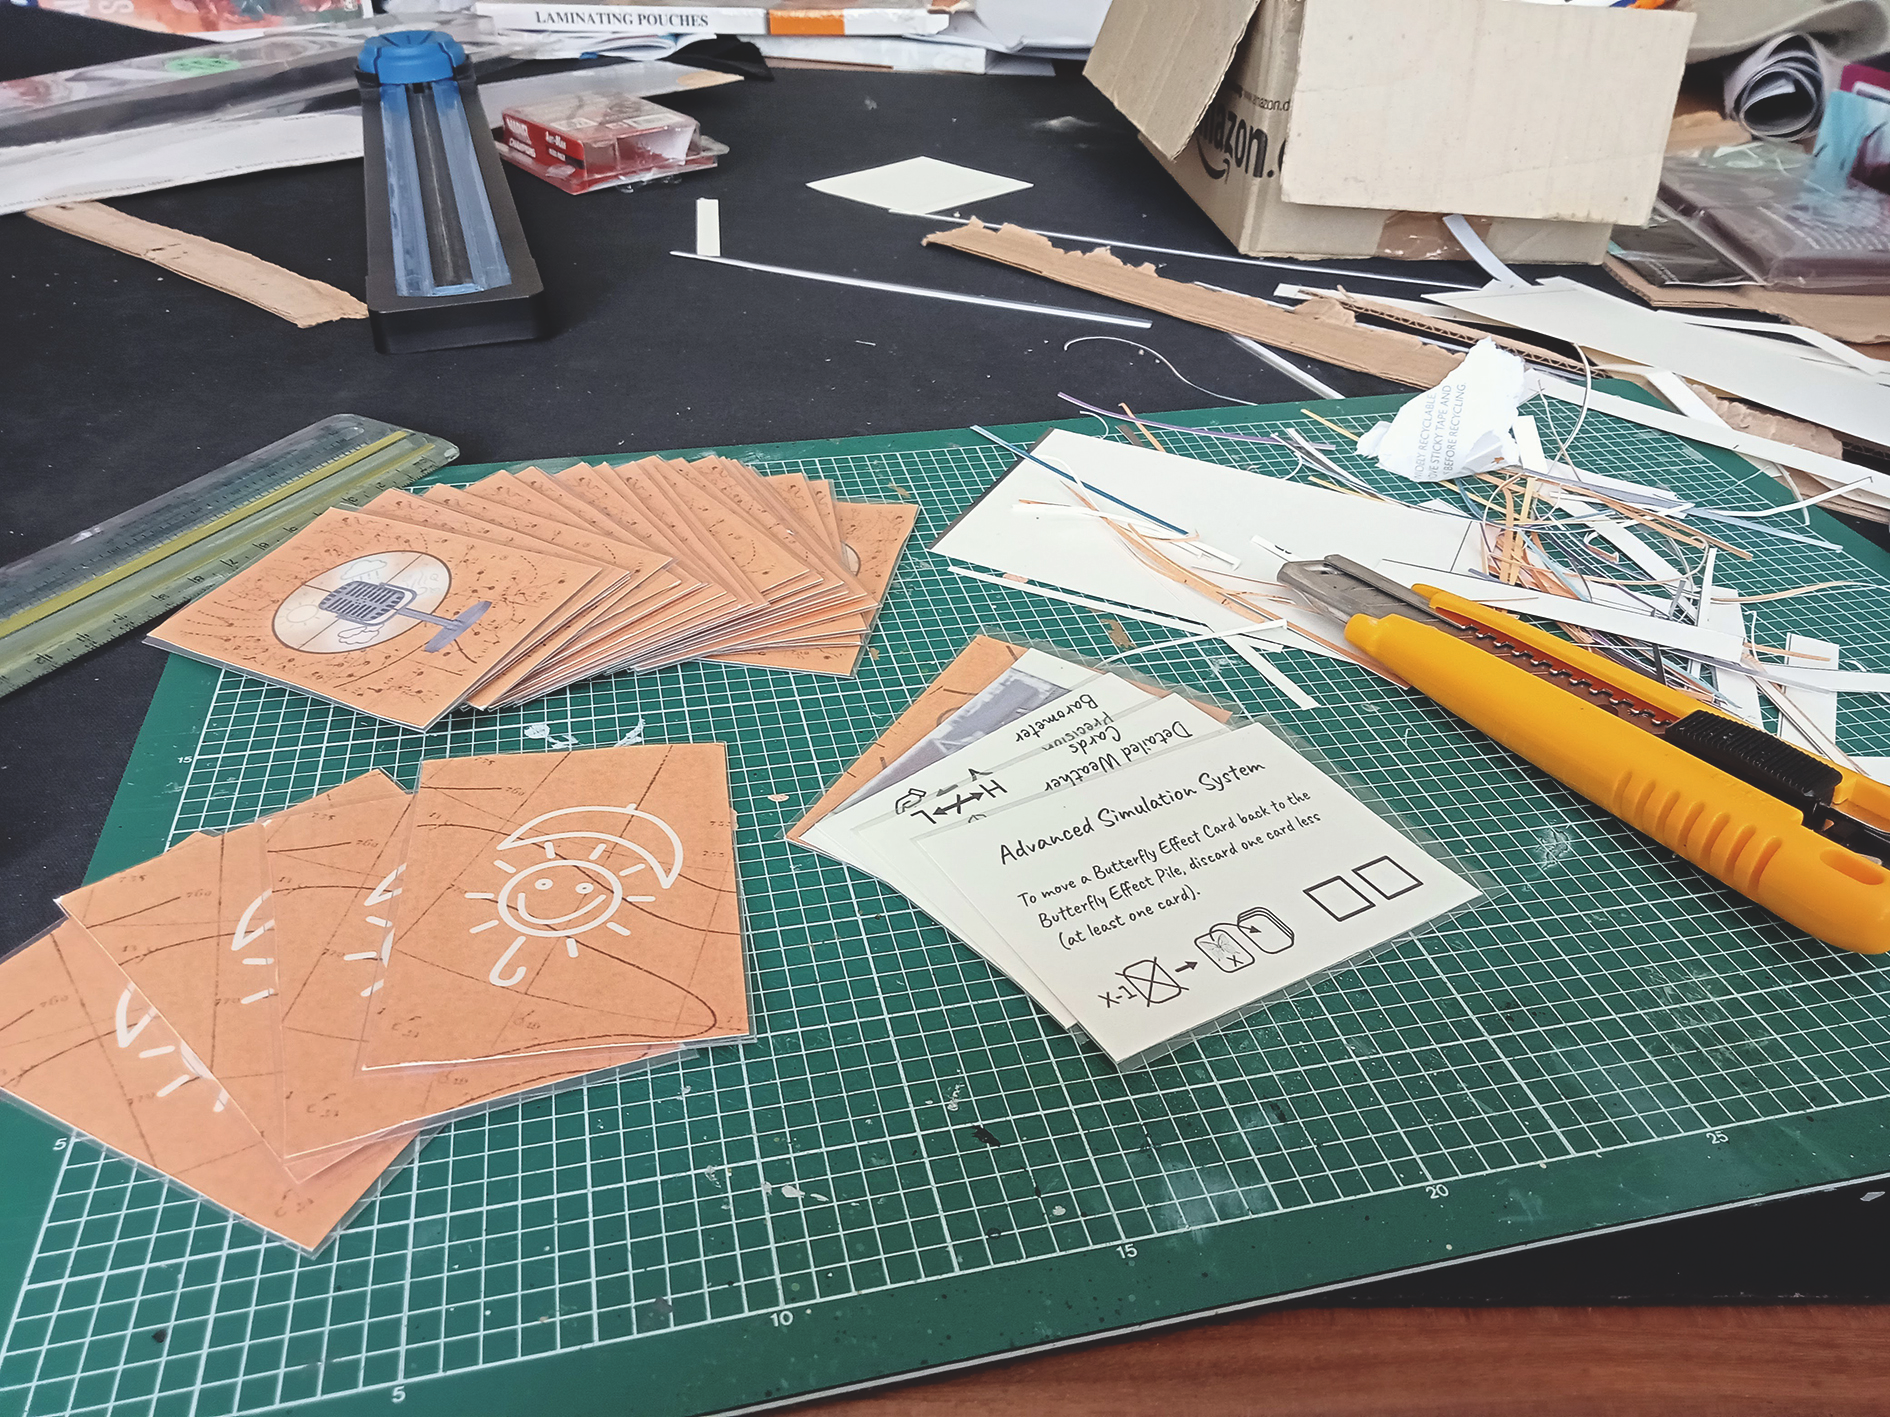
Since the printed board had some extra border space, I managed to fold these around and glue them behind the backing, giving the board a slightly nicer edging.
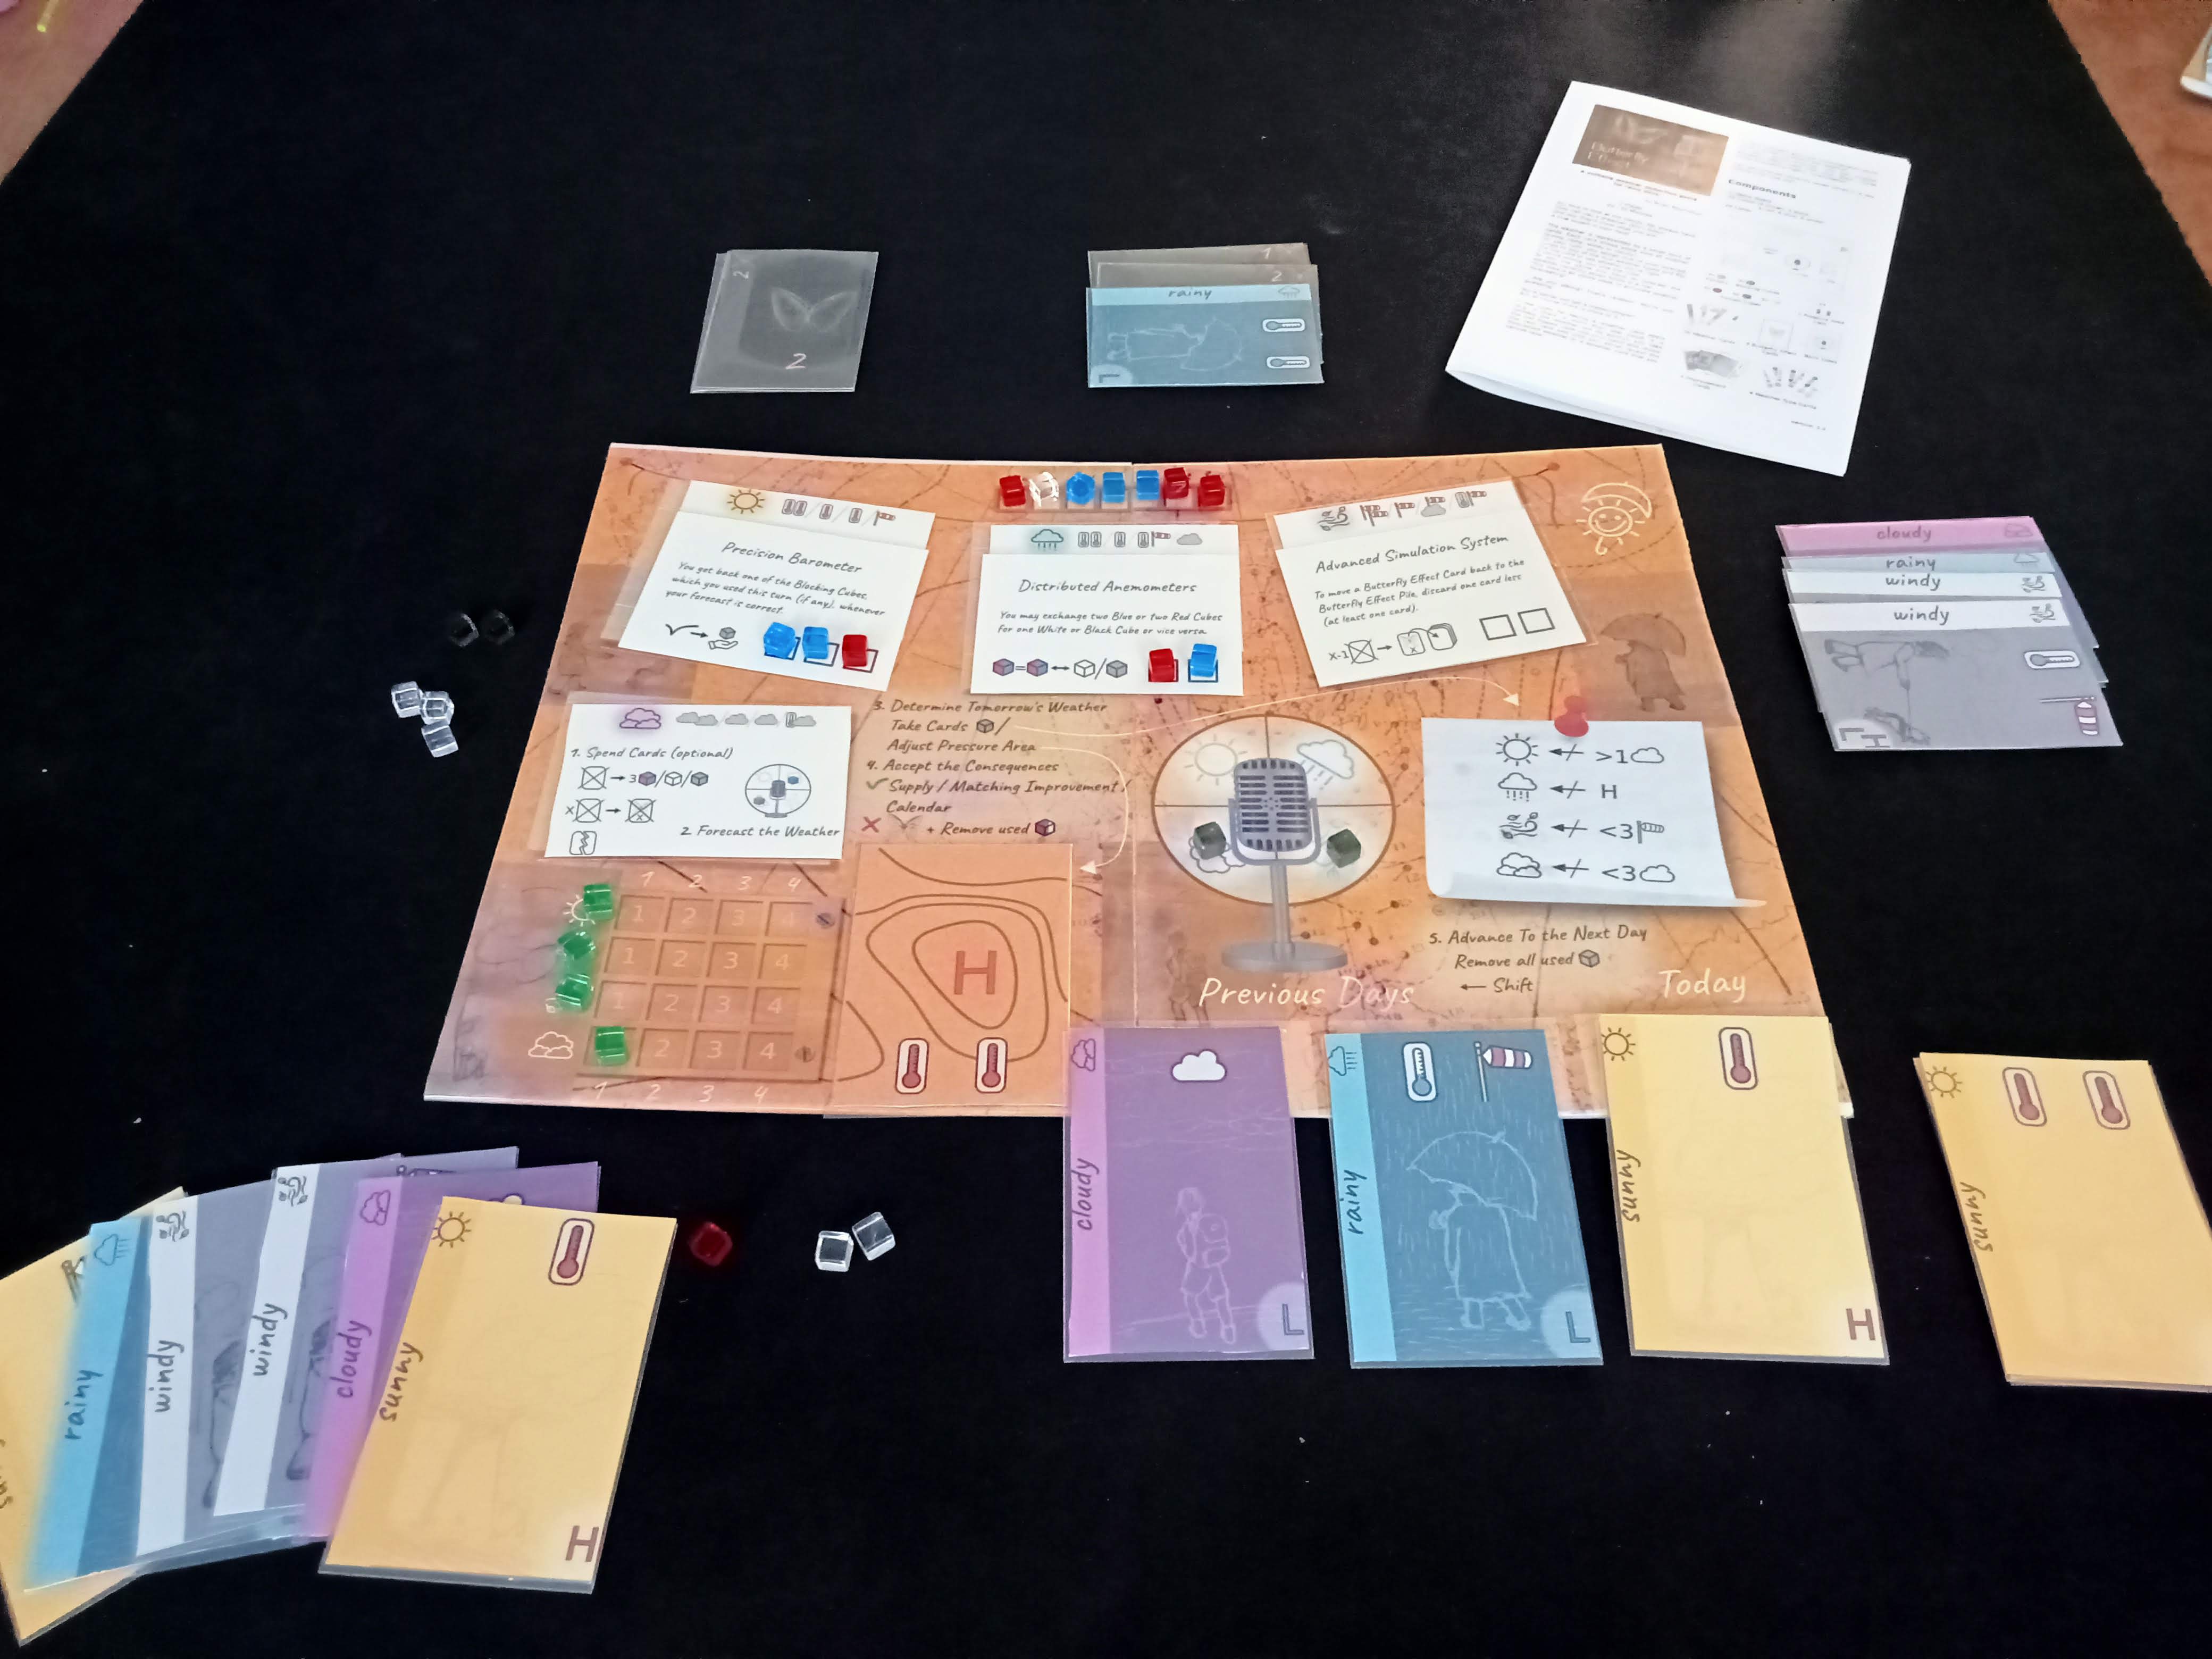
The game called for 26 cubes in five different colours, which in this case I simply raided from another game in my collection (although I do have wooden cubes somewhere...) and it's not essential, but I printed the rules into a booklet so I could sit at the table and learn the game with the pieces to hand. Ready to play!
Sometimes we may include links to online retailers, from which we might receive a commission if you make a purchase. Affiliate links do not influence editorial coverage and will only be used when covering relevant products


